
Platform administrator guide
What platform administrators can do in the back office, and why that authority is separate from any organisation role.
Who this is for: the small group of Xperience operators who run the platform. If you run events, see the organiser guide instead.
Where to sign in: the back office at admin.xperience.my. Sign in with an email code, like any account. The page is headed Back office.
Platform administration is separate
Being a platform administrator is its own record. It does not come from being an organisation owner, admin, staff or crew member, and none of those roles grants it. The reverse also holds. A platform administrator gets no access to an organisation's Studio unless they are also a member of it.
- Every back office page checks the platform administrator record on every request.
- An account that is not a platform administrator is refused, even if it owns an organisation.
- Administrators are provisioned by operators outside the app. There is no sign-up or invite screen for it, and organisers cannot grant it.
- The store review account is an ordinary guest. Platform administration is always refused for it.
Find your way around
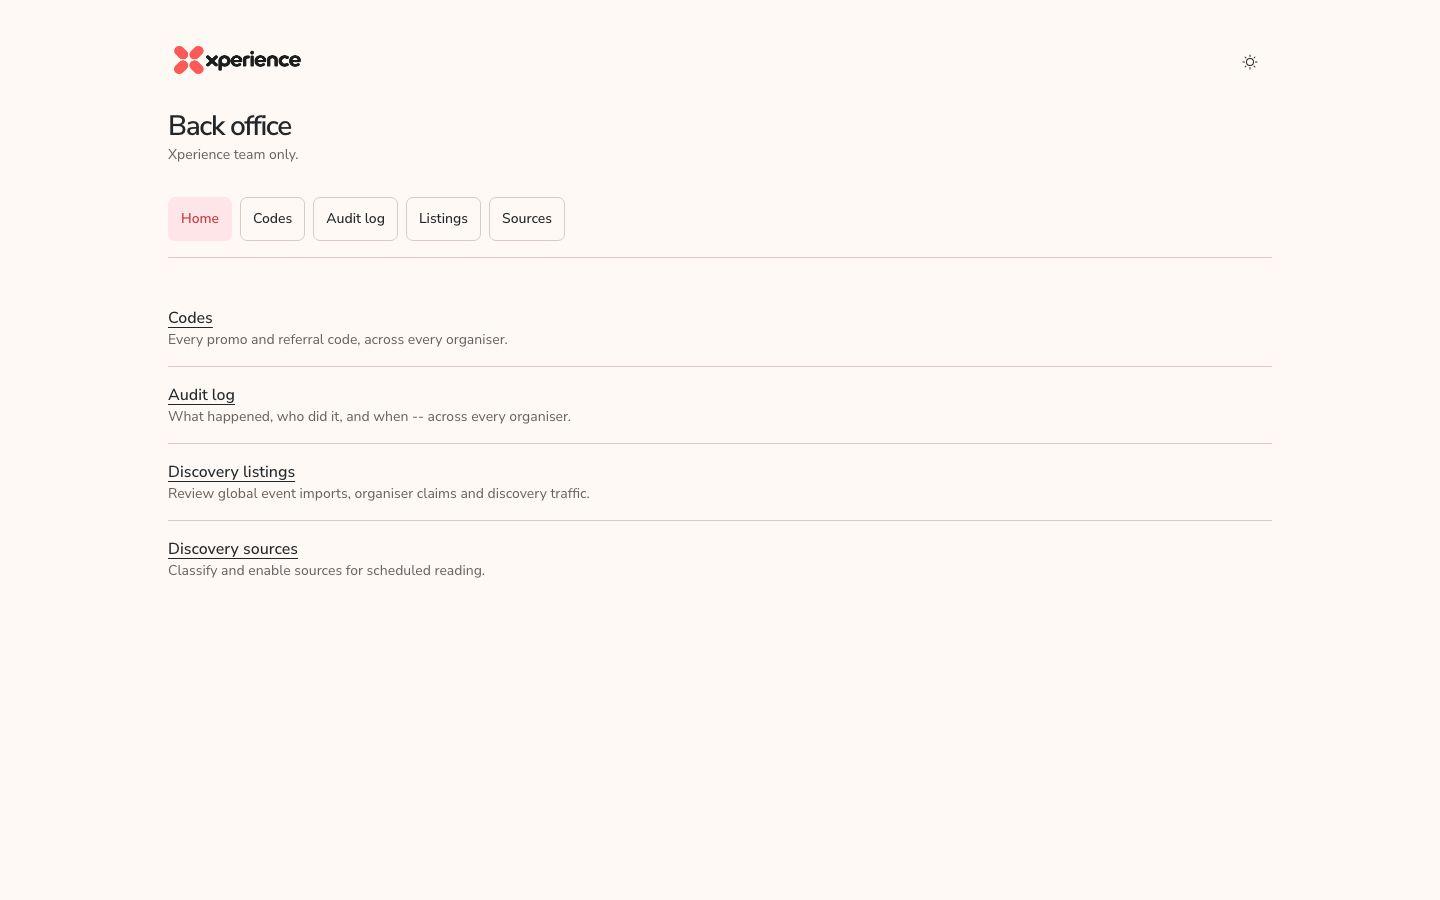
The back office has five links at the top: Home, Codes, Audit log, Listings and Sources. Home lists the same pages with a short description each.
Review discovery listings and organiser claims
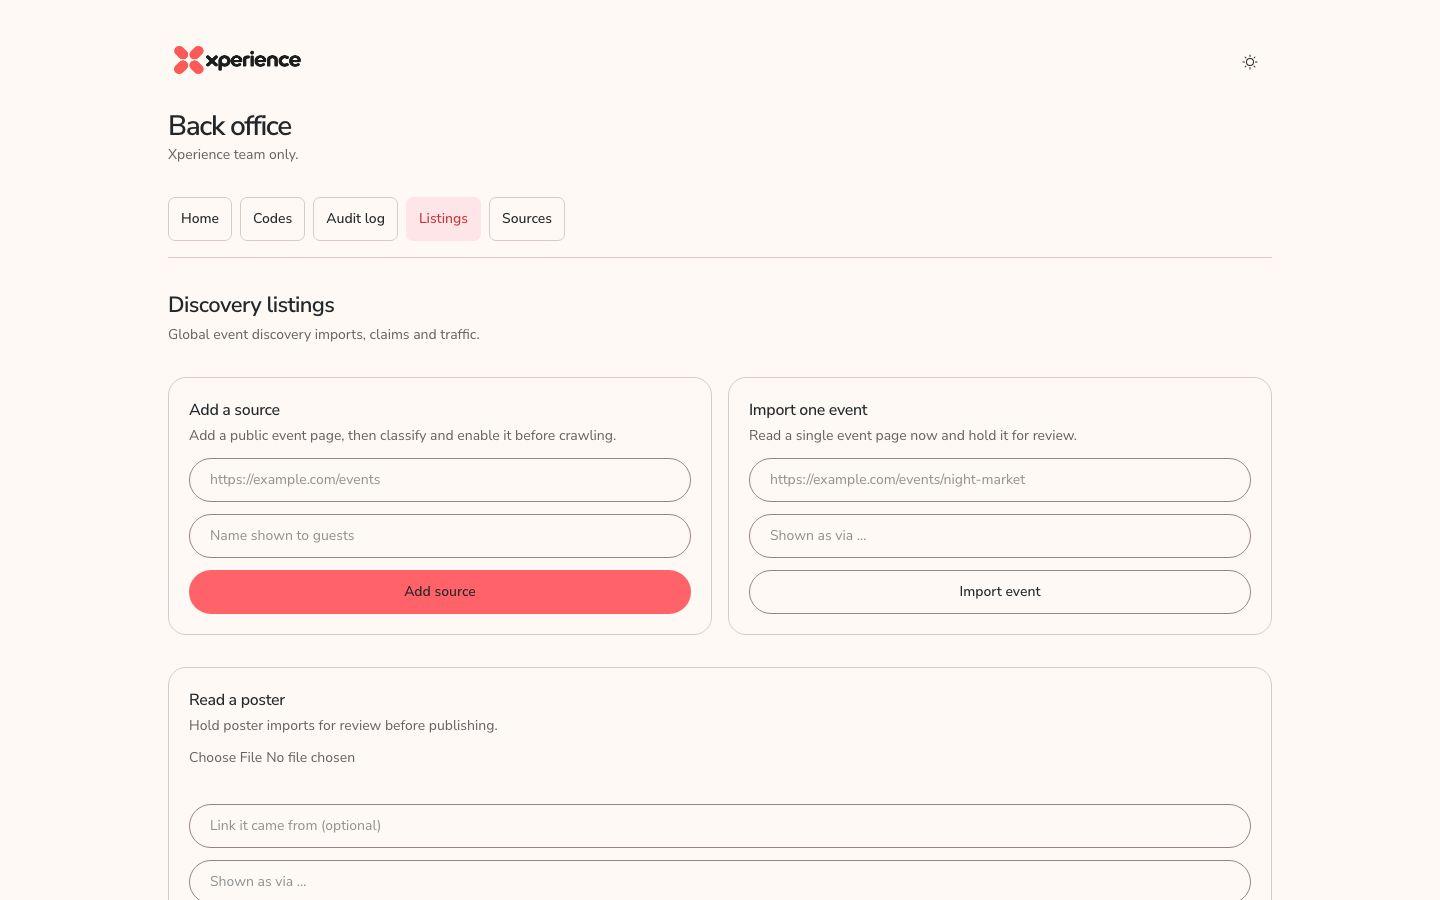
Open Listings. This is the Discovery listings page for global event imports, organiser claims and traffic.
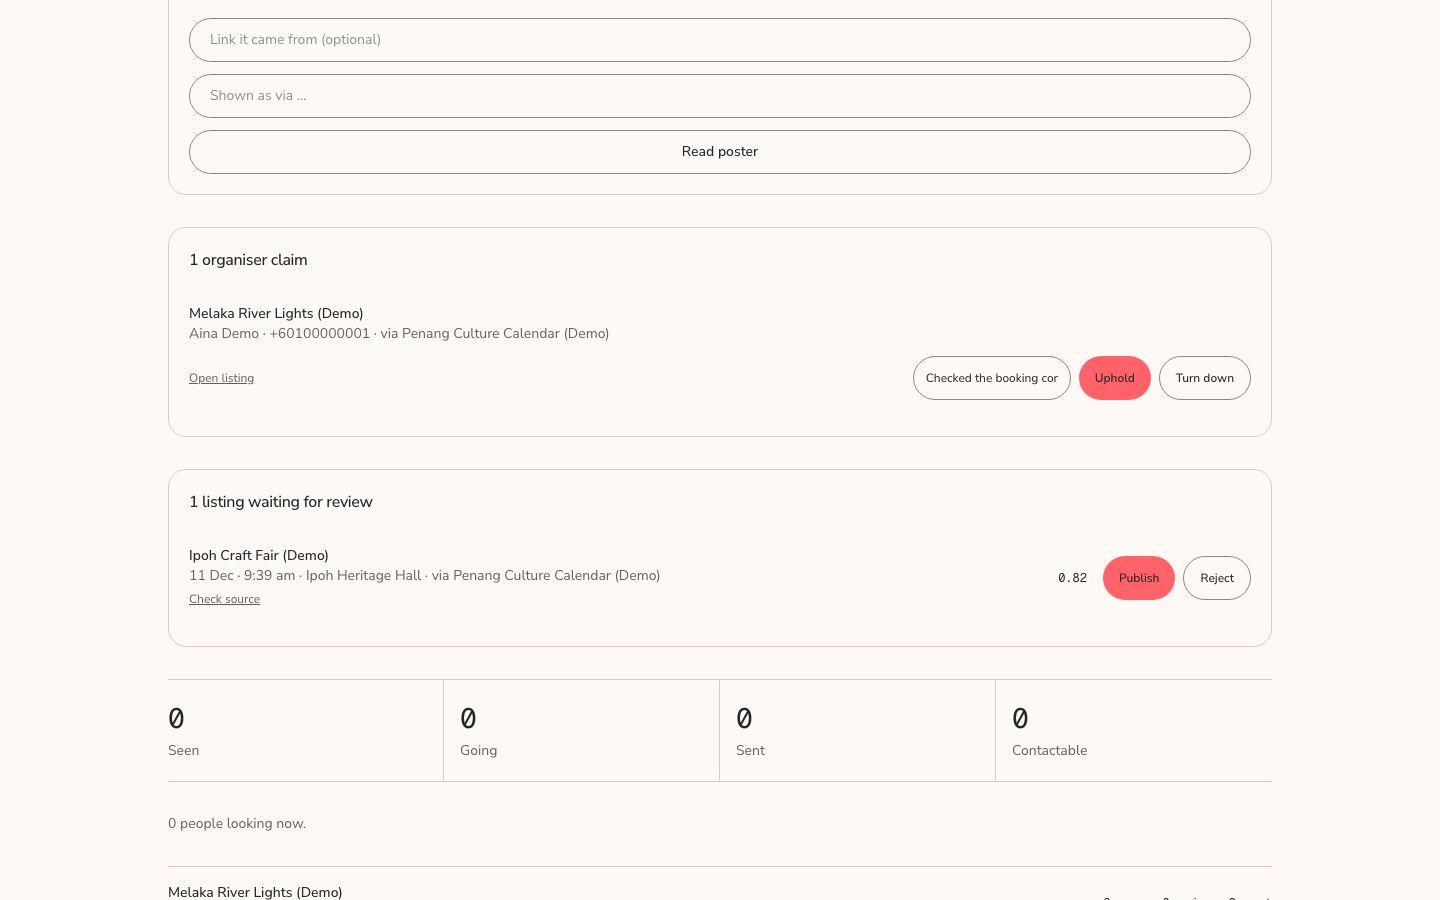
- Organiser claims appear first, headed with a count such as "1 organiser claim". Choose Open listing to look at the event.
- Write what you checked in Review note, then choose Uphold to accept the claim or Turn down to refuse it.
- Listings waiting for review appear next. Choose Check source to see where the event came from. Then choose Publish or Reject.
- When nothing is waiting, the page says "No listings or organiser claims need review right now."
- The traffic counts below show how often listings were seen, marked going and sent on.
- To add a public event page to read from, choose Add a source on this page. Enter its link and a name shown to guests, then choose Add source. Then classify and enable it under Sources.
Import events
At the top of Discovery listings there are tools for adding events yourself.
- Use the Import one event form to read a single event page now. Enter the page link and a name shown as "via …", then choose Import event. The event is held for review.
- Use Read poster to read an event from a poster. A link it came from is optional.
- Imported items wait in the review queue until someone publishes them.
Choose which sources are read
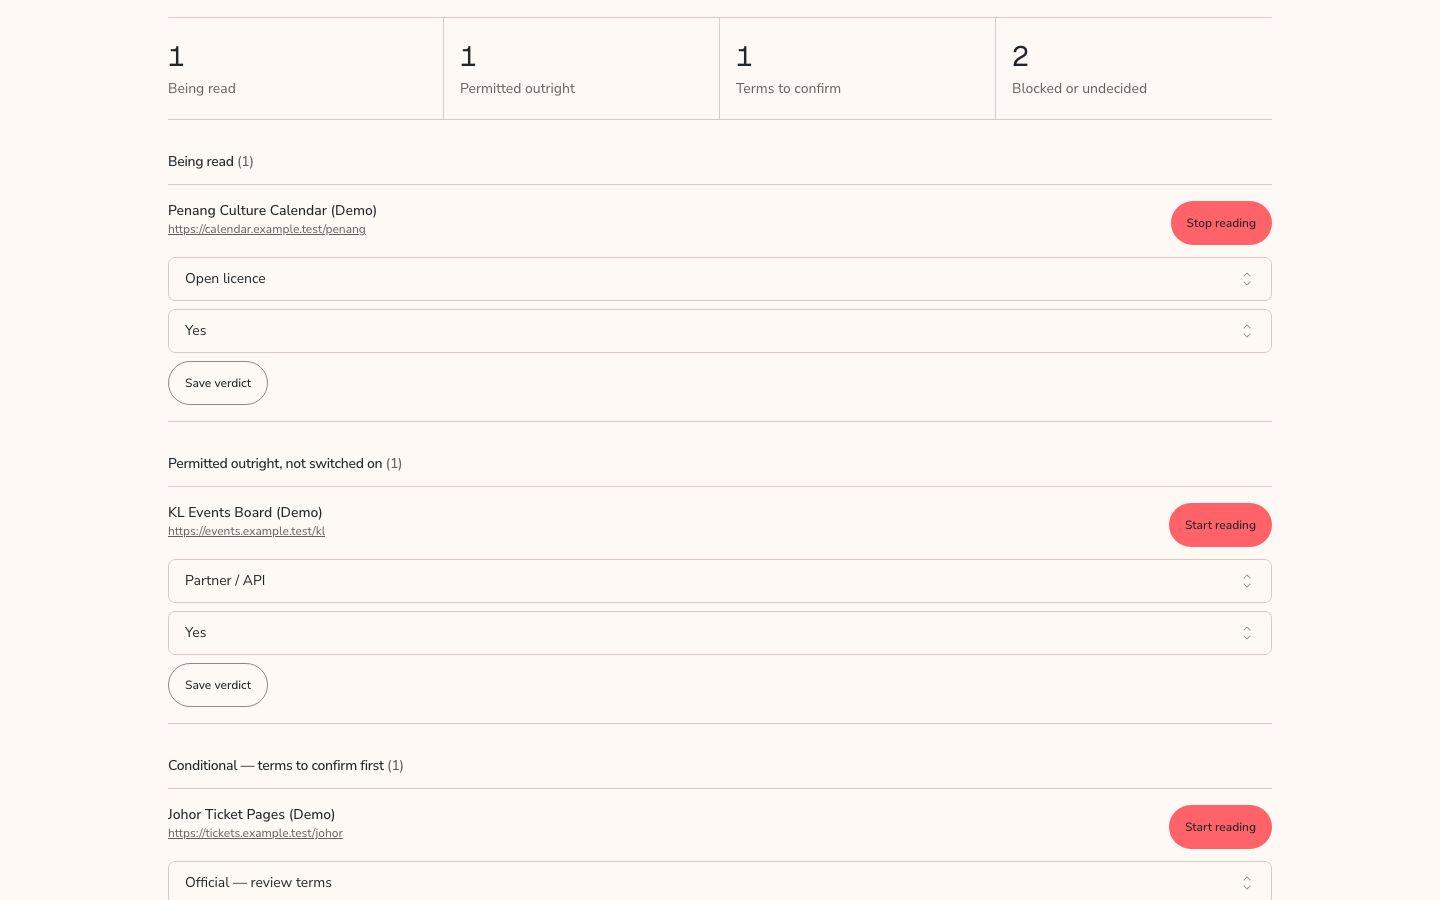
Open Sources. This is the Discovery sources page. It groups sources as Being read, Permitted outright, not switched on, Terms to confirm and Blocked or undecided.
- New sources are added from Listings with Add a source. Classify and enable each one here before it is read.
- On each source, set Classification and Crawl suitability.
- Choose Start reading to switch a source on, or Stop reading to switch it off. A source that is blocked or undecided cannot be switched on, and its reason shows on the button.
See every code
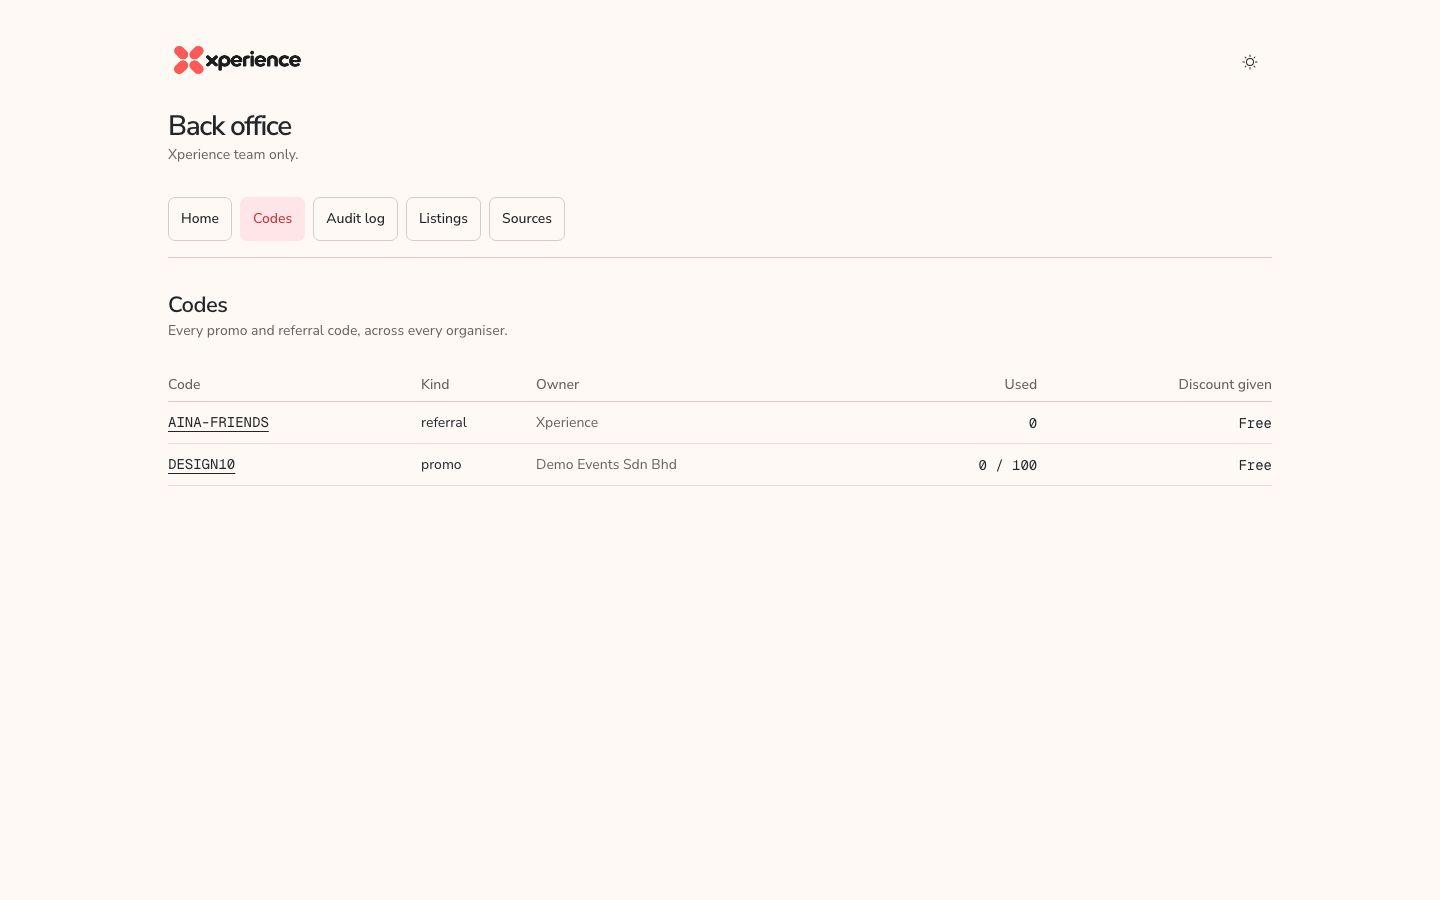
Open Codes to see every promo and referral code across every organiser, with its kind, owner and use count. Choose a code to see when and where it was used. This page is for viewing. Organisers create their own codes in Studio.
Read the audit log
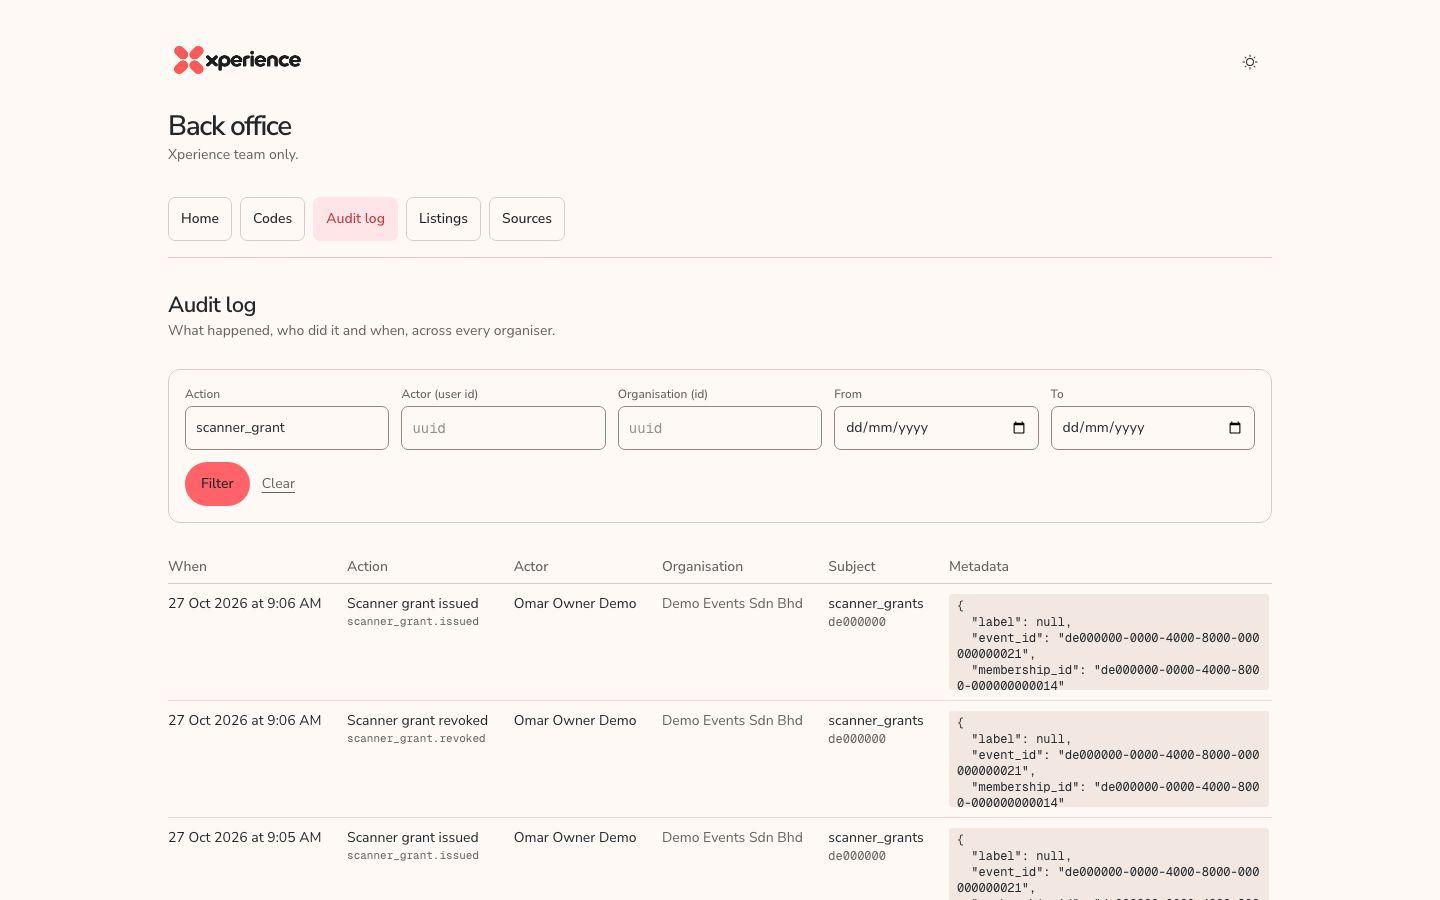
Open Audit log to see what happened, who did it and when, across every organiser.
- Filter by Action (for example part of an action name), Actor (user id), Organisation (id) and a date range.
- Choose Filter. Choose Clear to remove the filters.
- Each entry shows the action, actor, organisation, subject and metadata.